> For the complete documentation index, see [llms.txt](https://docs.rox.com/development/llms.txt). Markdown versions of documentation pages are available by appending `.md` to page URLs; this page is available as [Markdown](https://docs.rox.com/development/product/revenue/products.md).
# Products
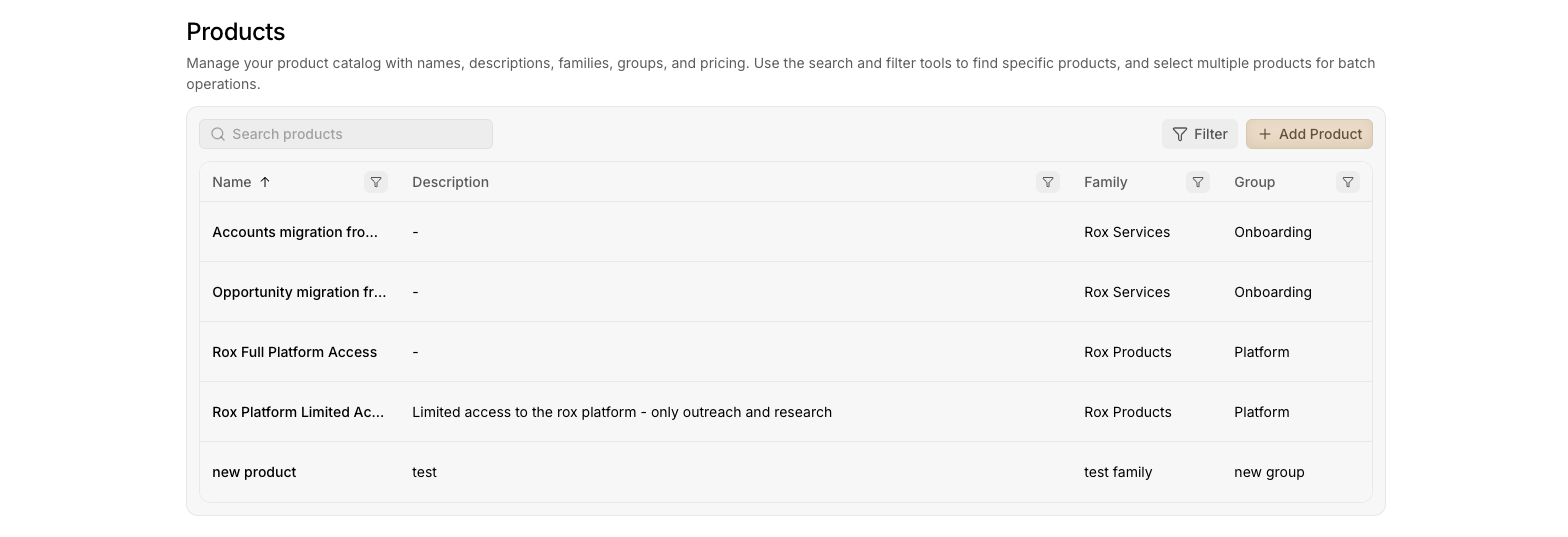
Add information about your organisation's SKUs and pricebook details which your sellers can use to link to opportunities
### Guide for admins to list products
1. Navigate to the Revenue section in the [Settings](https://run.rox.com/settings)
2. Scroll down to the Products section and click on **Add Product**
3. Products can be categorised in hierarchies in Rox, in the order of **Family ⇒ Group ⇒ Product**
Multiple products can be a part of a product group, and multiple groups can belong to a product family.
4. Create pricebook entries for each product so that sellers can sell a product at different prices depending on the customer and situation.
5. You can temporarily deactivate pricebook entries to restrict sellers from being able to use that pricebook entry in opportunities.
### Guide for sellers on how to add a product to an Opportunity
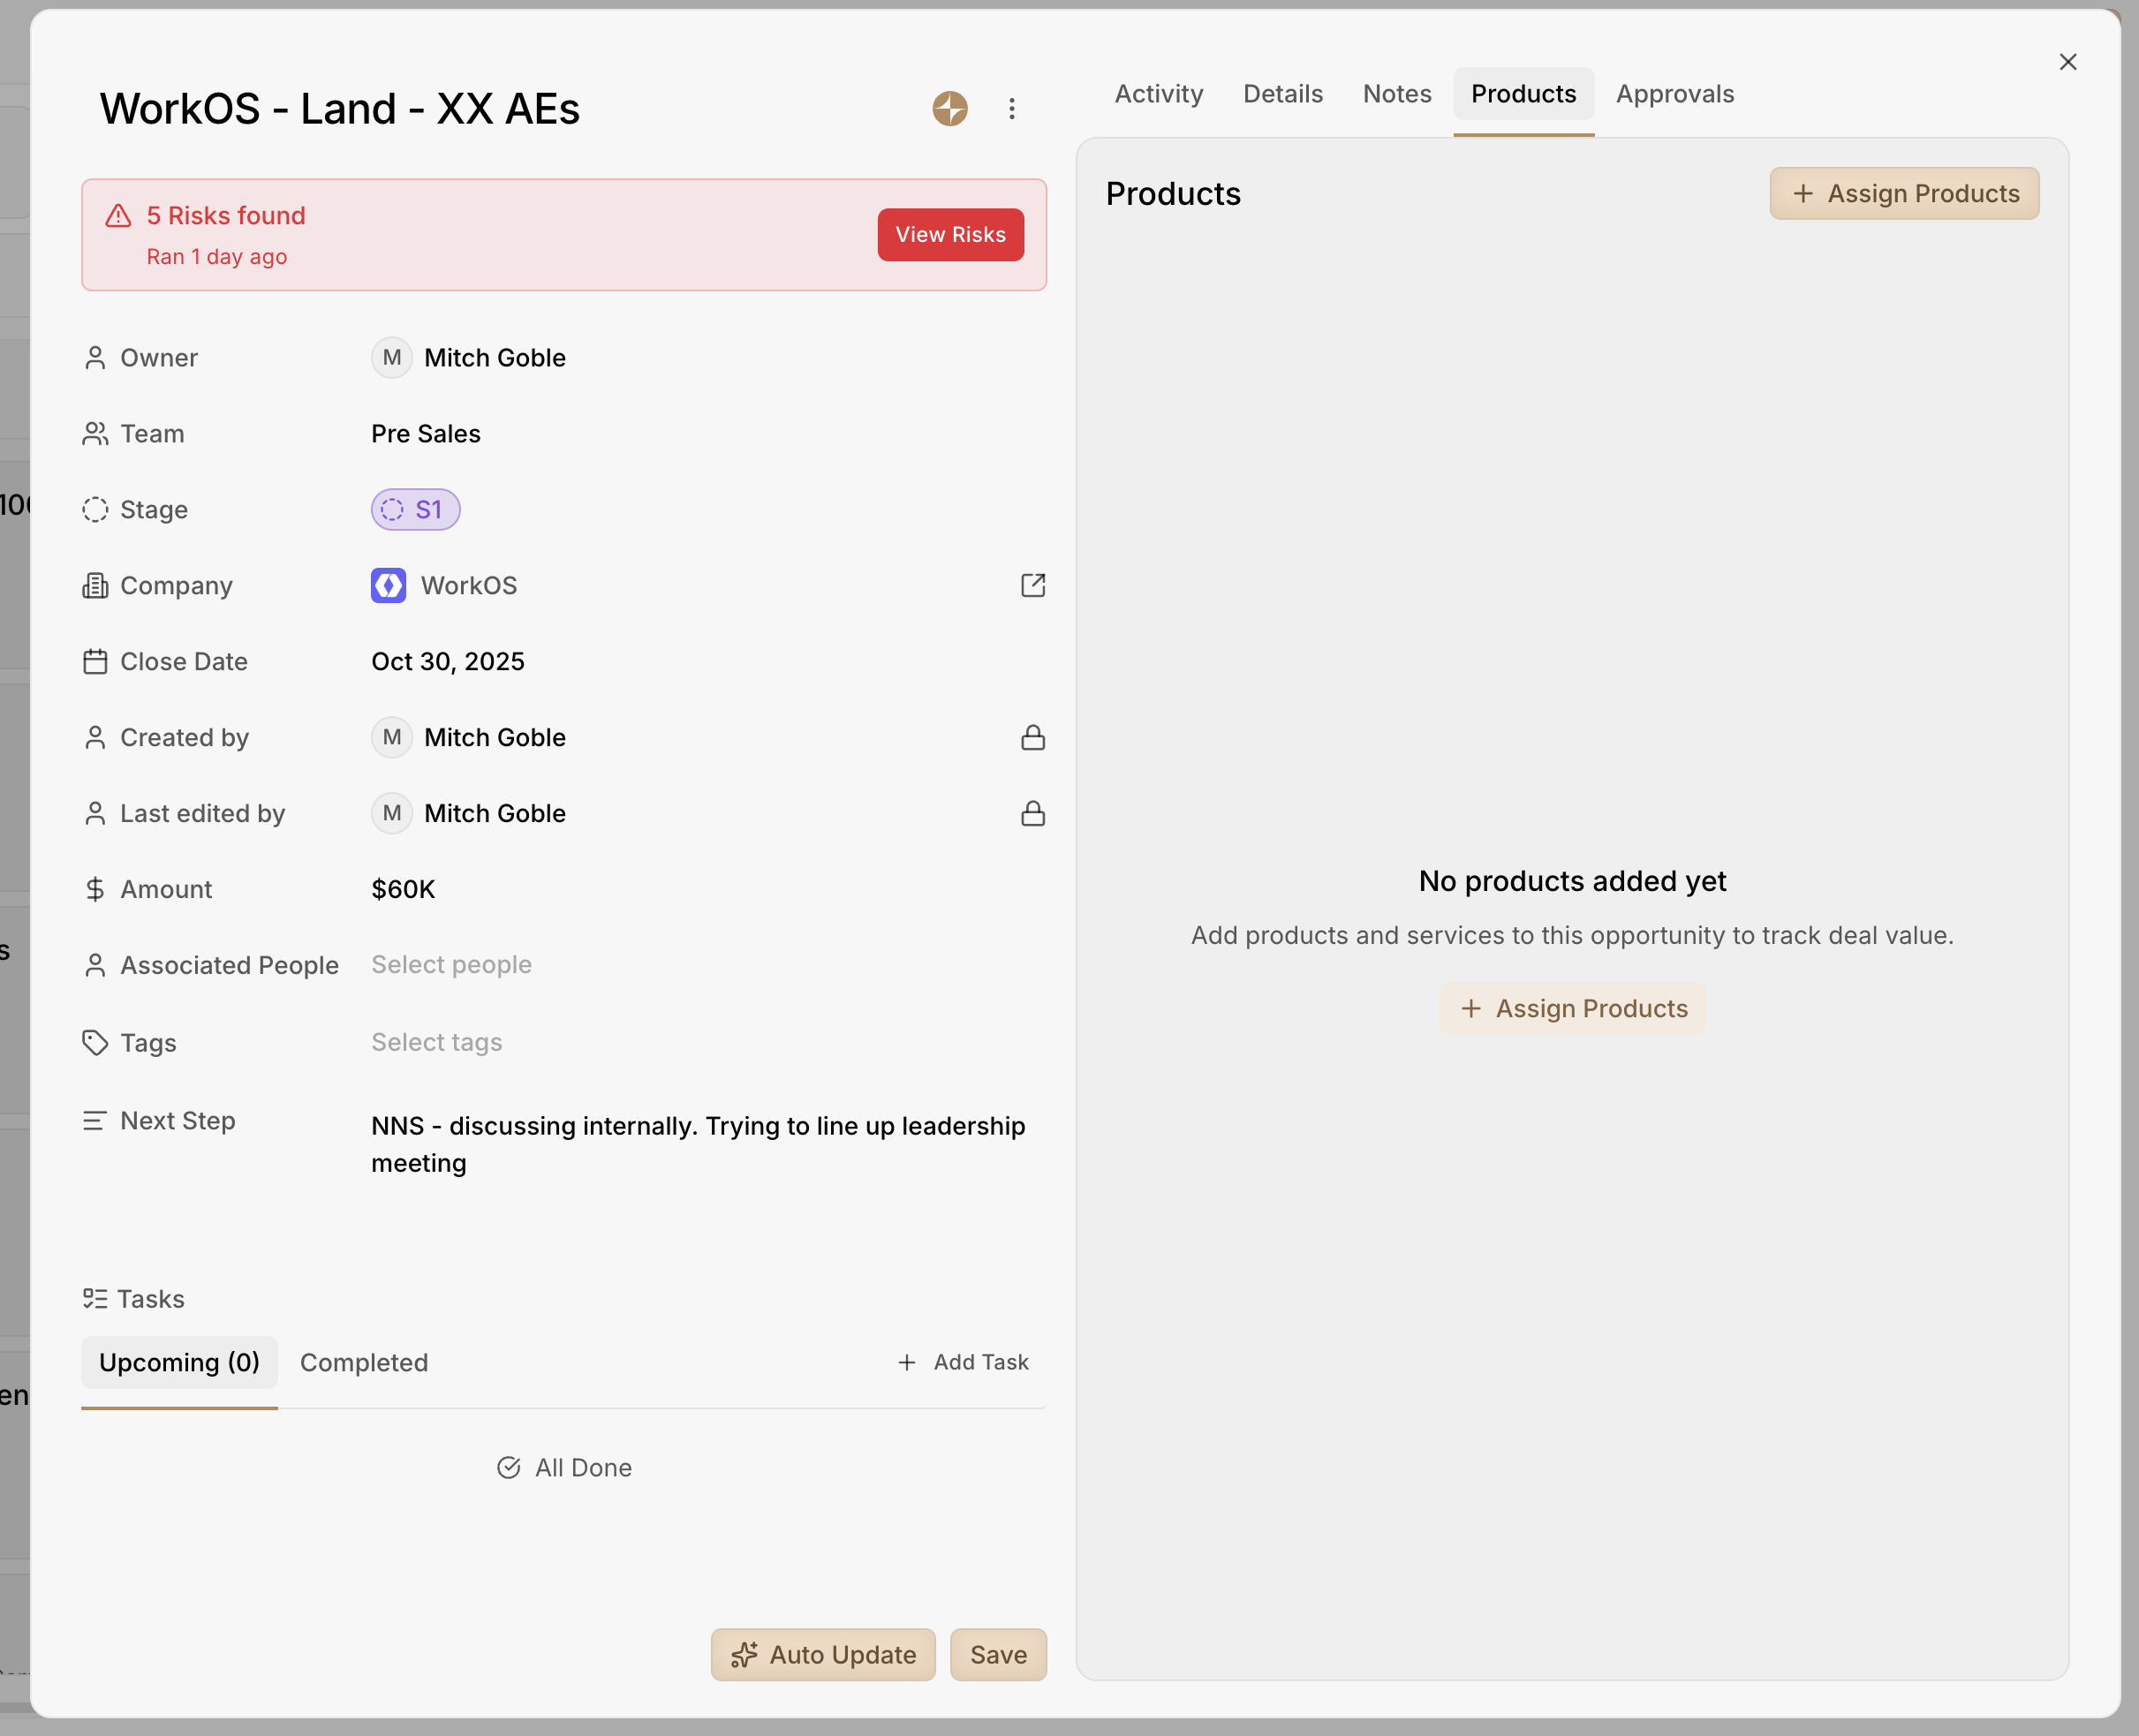
1. Go to the **Products** tab in the opportunity view
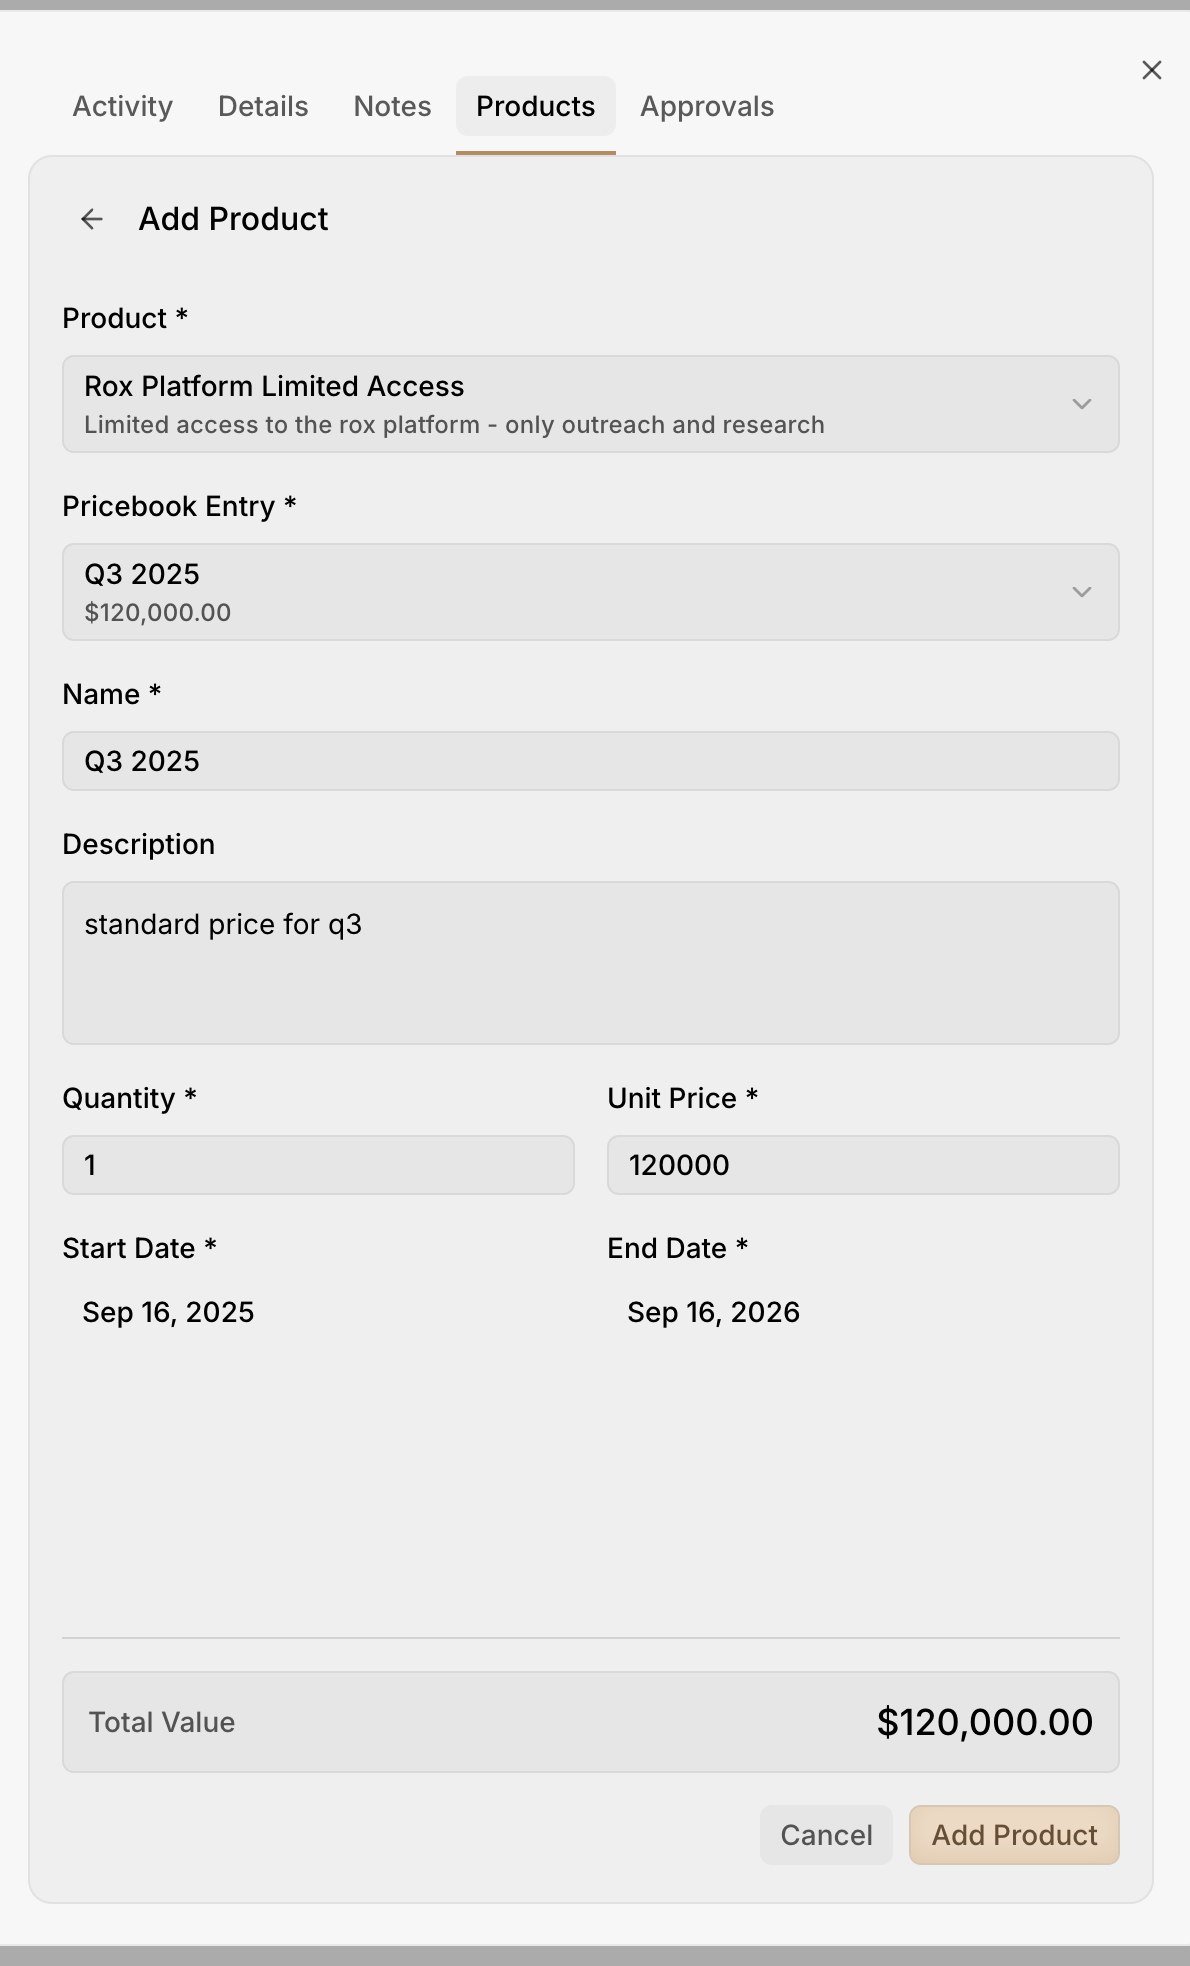
2. Click on **Assign Products** and select the product and its associated pricebook entry
3. You can change the unit price in this step - allows flexibility in case of discounts or upsell.